

 - from 1 Unit")
 - from 1 Unit")
 - from 1 Unit")
 - from 1 Unit")

 - Li (DORMANT, BARE-ROOTED)")
 - from 1 Unit")
 - from 1 Unit")
 in 50 mm Tube")
 in 50 mm Tube")
 - from 1 Unit")
 Creeping Groundcover Plant in 50 mm Round Propagation Pot")
 - from 1 Unit")
 - from 1 Unit")
 - from 1 Unit")

 in 90 mm Bottomless Pot")
 Cuttings in 50 mm Tube")
 Leaves For Potpourri")
 as Propagation Material")
 Settling, Cultivar 2, Potted")
 Settling, Cultivar 1, Potted")
Sugarcane Settling ( Rooted, Shooting Sett), Cultivar 2")


")

Title image above is copyright © Kristi Ellinopoullos
First published 7th May 2025
Updated on 29th April 2026
Iwas inspired by this local tree:
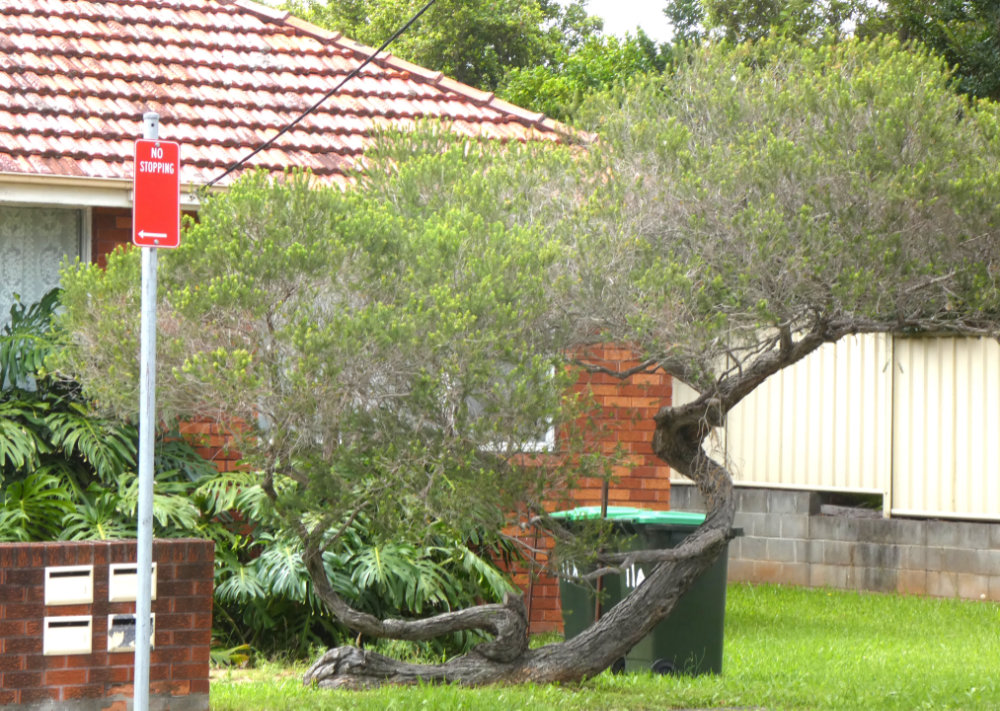
copyright © Kristi Ellinopoullos
to dig up a self-seeded bottlebrush (Melaleuca sp.) sapling by our water meter (!) and bonsai it, so into a 4.1 L Air-Pot small seed tray it went! (Not to be confused with the 4.1 L Air-Pot bonsai training pot, which has open cones along the top as tie-down points.)
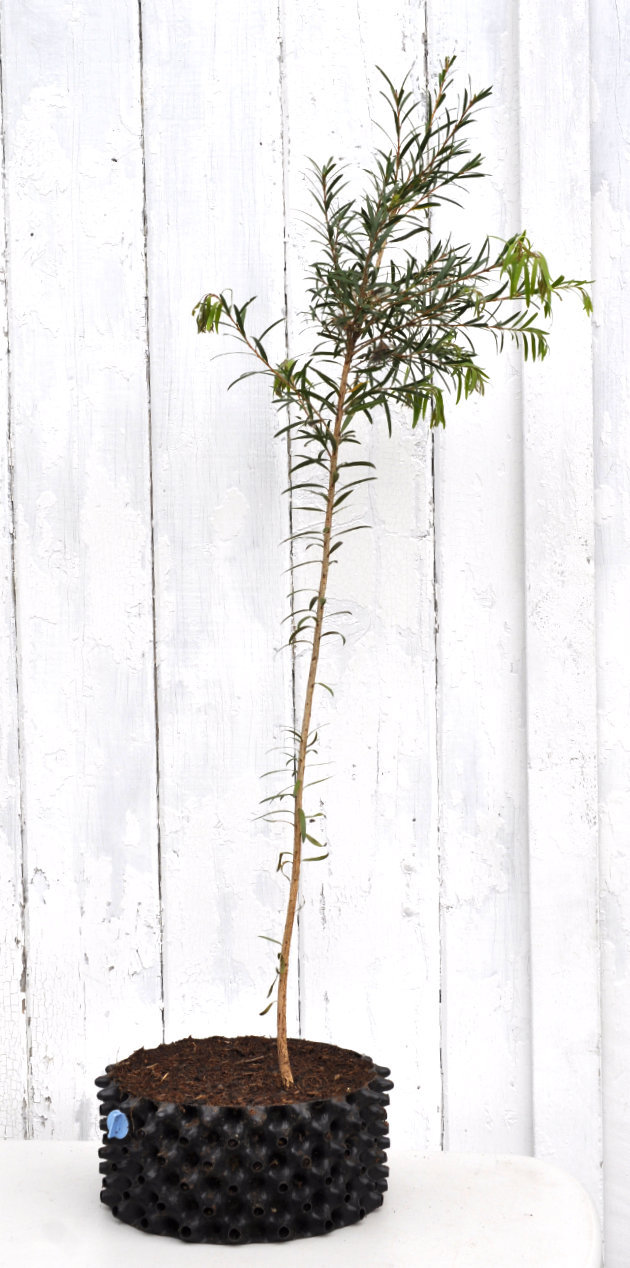
copyright © Kristi Ellinopoullos
I used the seed tray for no other reason other than a used empty one just happened to be there ready to go, and I only wanted to grow the roots some more at that stage. All this was back in early December 2024.
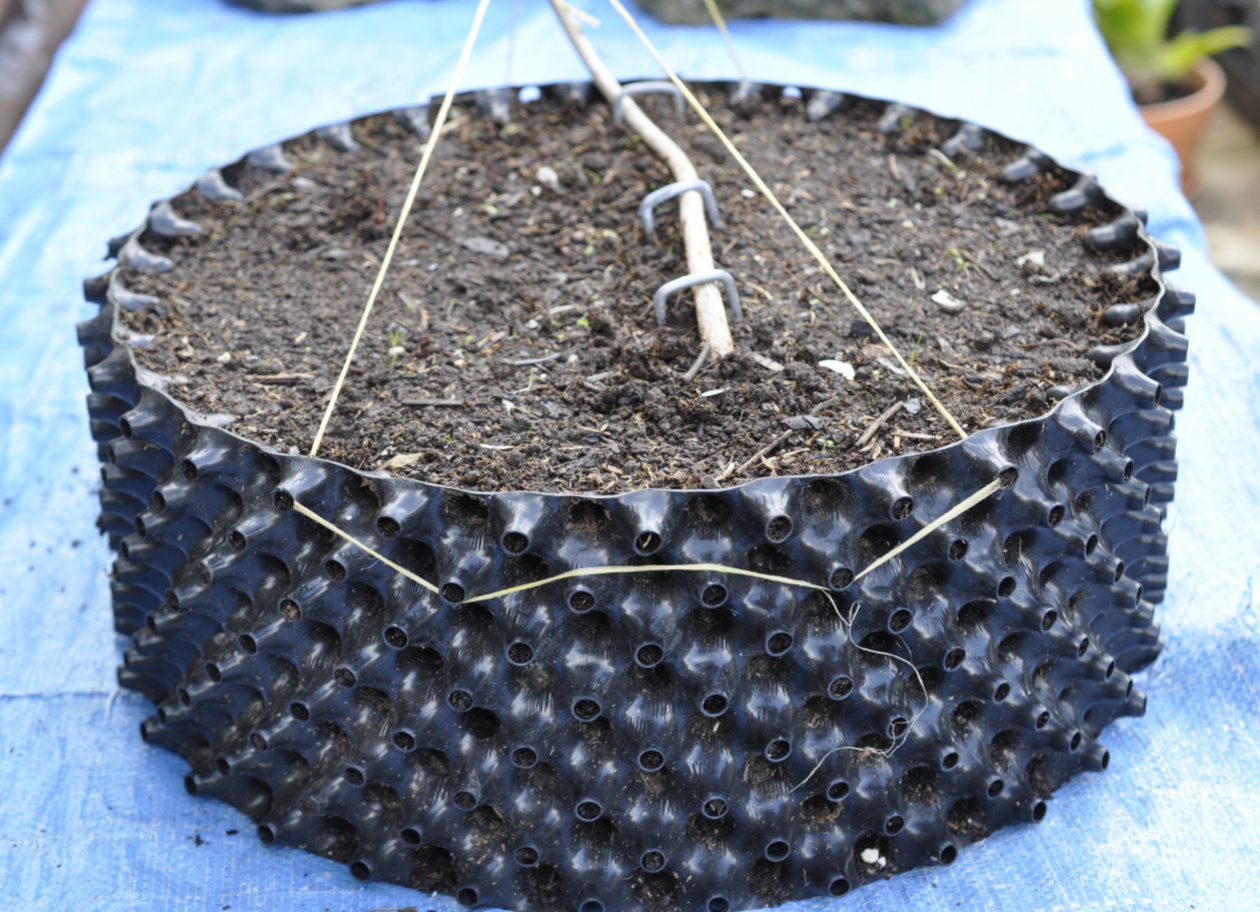
Last April this year 2025 I decided to pot it up into a 16 L training pot, the largest available. The trunk of this bottlebrush is so bendy I could have bent it right back onto itself, so I took full advantage of both its springiness and the diameter of this container to get as much horizontal positioning as possible.
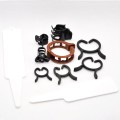
Enter high quality, Aussie-made, strong, sturdy weed mat pins !
(I packed potting mixture under the trunk where it didn’t lie completely flat, so as to encourage rooting along that length.)
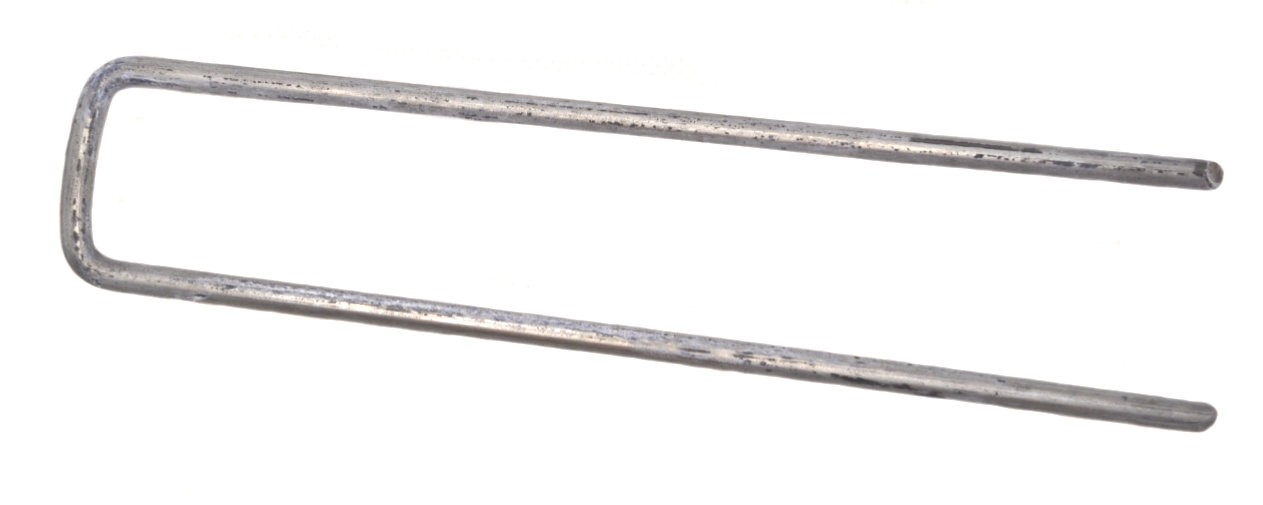
copyright © Kristi Ellinopoullos
copyright © Kristi Ellinopoullos
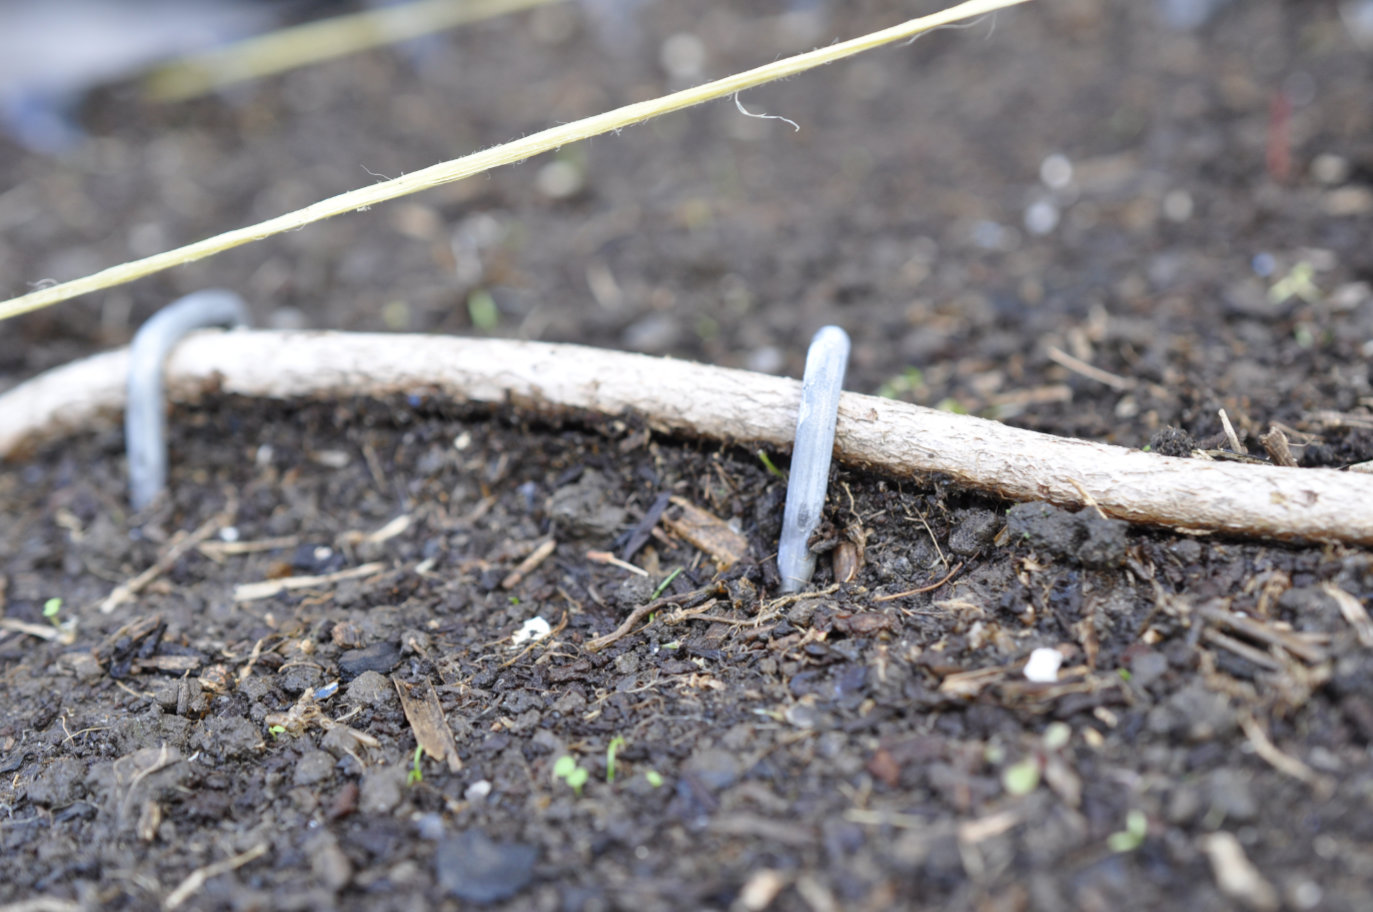
These pins are 150 mm long, and just fit vertically down into the 150 mm deep 16.5 L training pot — perfect for pinning the bottlebrush trunk to the surface as shown in the photo. Similar results are achievable in smaller containers simply by inserting the pin at an angle. These pins could possibly also be used to keep a branch a fixed height off the surface without driving them all the way into the training pot. (These pins are strong, but some branches may be whippier and stronger still.)
Now for some good ol’ baling twine and more pins for the rest of the shaping — and nobody said this had to be pretty!
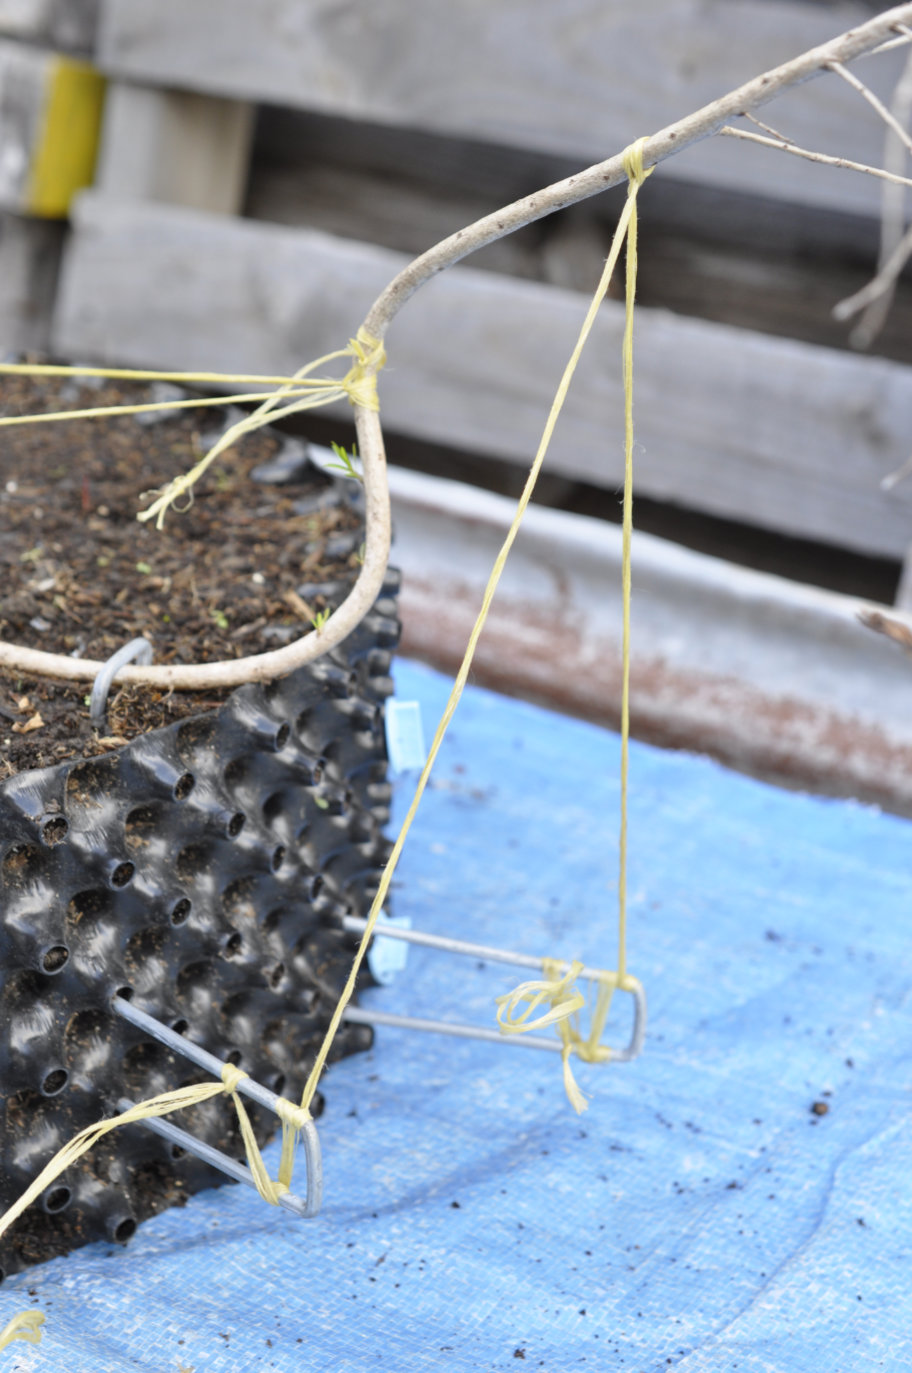
This is where the open row of cones along the top come into play and make these exceptional training pots for bonsai — feeding twine out through one cone opposite the upright part of the trunk and up into another, whilst tucking it tightly under a row of cones in between, anchored that trunk firmly at the angle I wanted:
copyright © Kristi Ellinopoullos
Then it was a matter of manoeuvring the trunk into the ‘S’ shape seen here:
copyright © Kristi Ellinopoullos
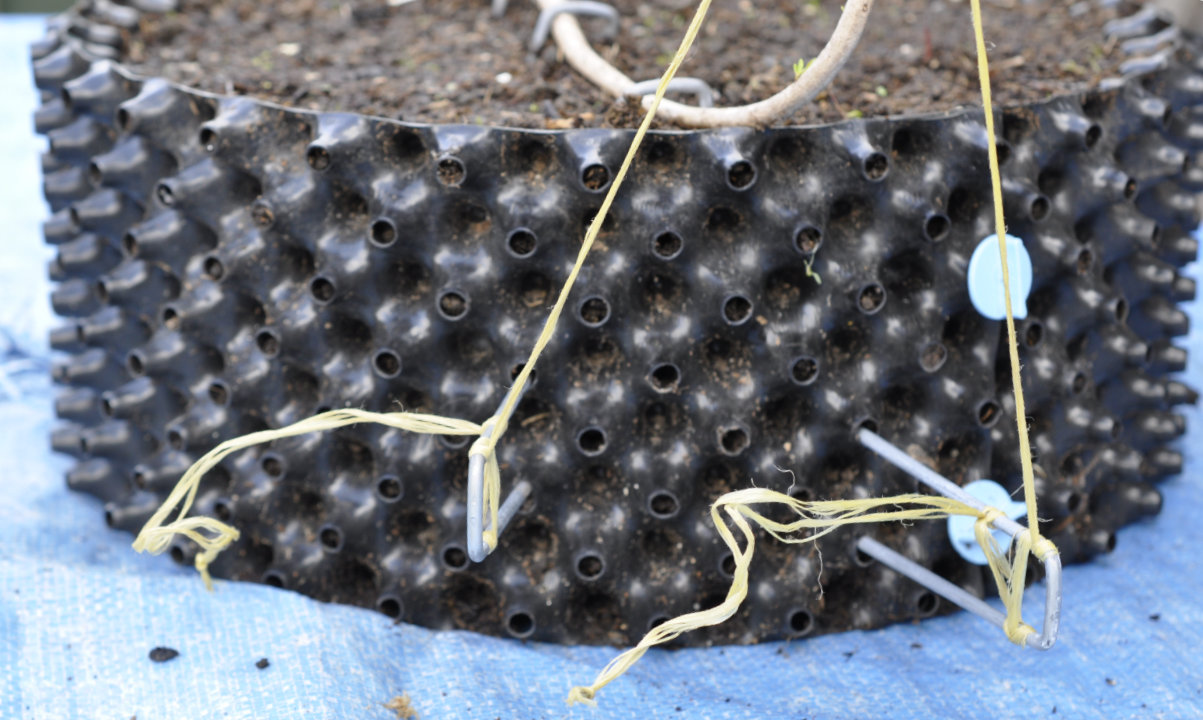
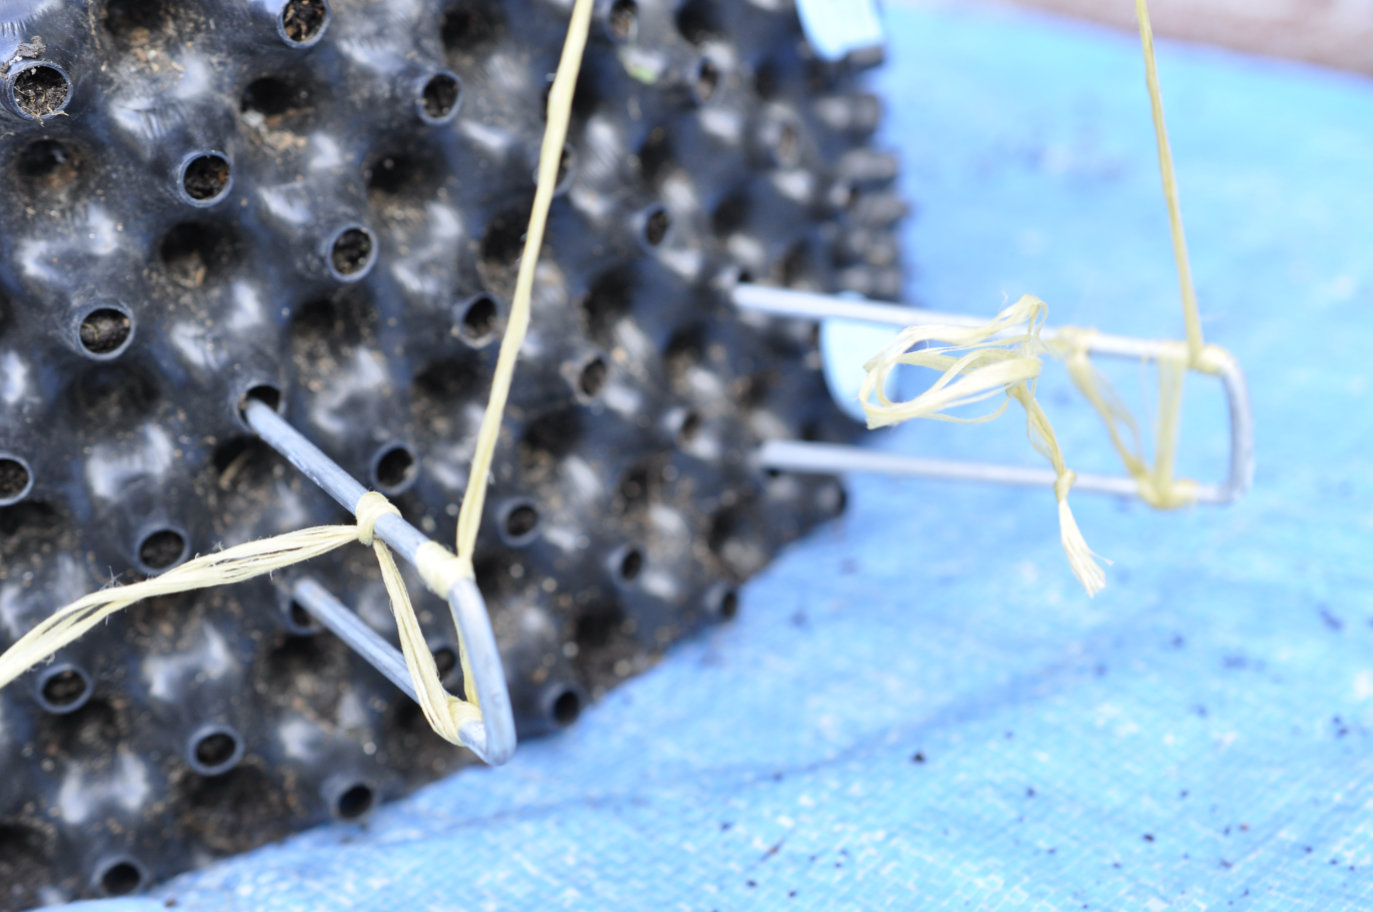
The pin prongs are so well-spaced it is as if they were made for sliding horizontally into the Air-Pot walls! Not only do they slide in with ease, but with so many closely spaced holes to choose from, you also have incredible control over how many you place, as well as the depth and even angle at which you place them.
Two of these at one end did the job keeping that trunk down
(Caveat: this was a two-man job and thanks to Son for holding the trunk in position for me! The twine also needed to be twisted tightly around each prong so as not to slip on the metal.):
copyright © Kristi Ellinopoullos
copyright © Kristi Ellinopoullos
Update: 29th April 2026
When going over this post prior to writing a progress report a year later, I realised that I had forgotten to include a photo of the entire tree back on 7th May 2025! What an oversight! Here:
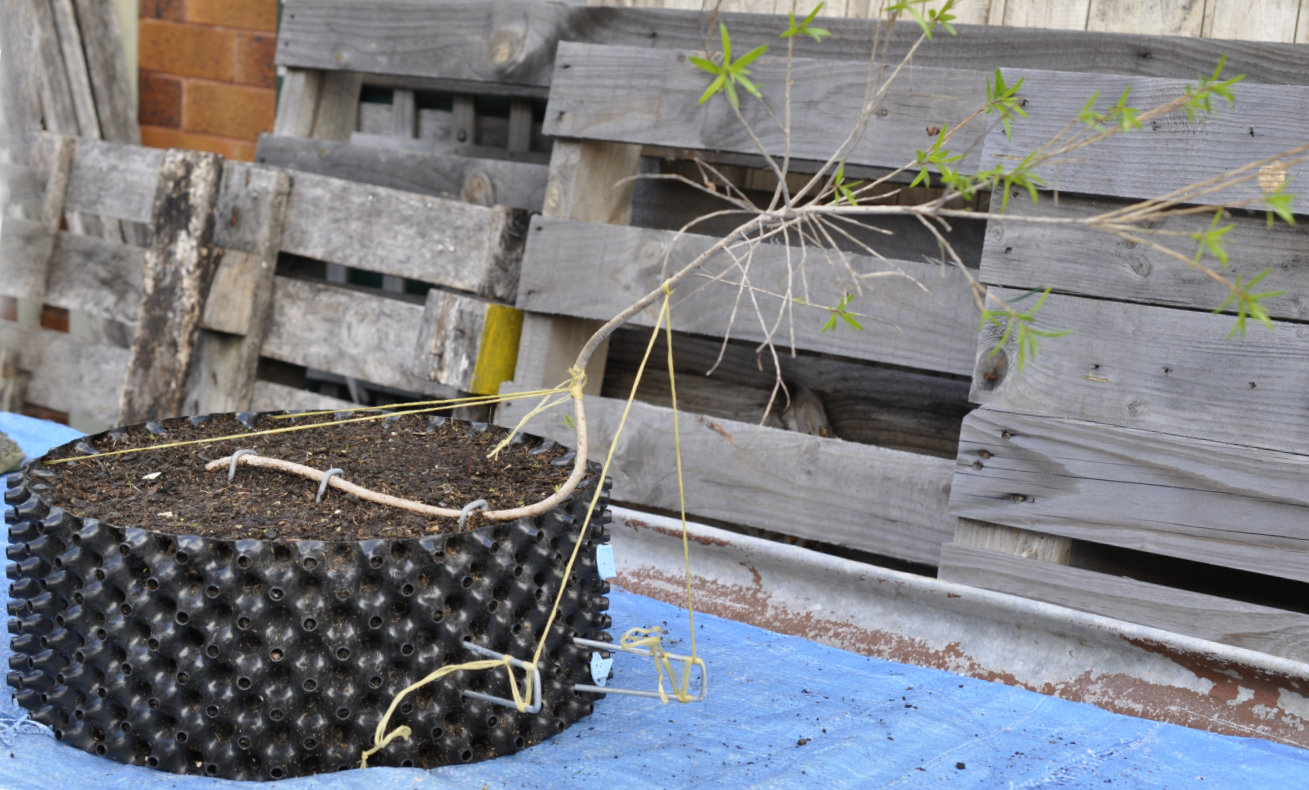
copyright © Kristi Ellinopoullos

Related Products
 - from 1 Unit")
 - from 1 Unit")
 - from 1 Unit")
 - from 1 Unit")

 (SINGLE)")
Leave a Comment