


 - from 1 Unit")
 - from 1 Unit")
 - from 1 Unit")
 - from 1 Unit")

 - from 1 Unit")
 - Li (DORMANT, BARE-ROOTED)")
 - from 1 Unit")
 in 50 mm Tube")
 in 50 mm Tube")
 - from 1 Unit")
 Creeping Groundcover Plant in 50 mm Round Propagation Pot")
 - from 1 Unit")
 - from 1 Unit")
 - from 1 Unit")

 in 90 mm Bottomless Pot")
 Cuttings in 50 mm Tube")
 Leaves For Potpourri")
 as Propagation Material")
 Settling, Cultivar 2, Potted")
 Settling, Cultivar 1, Potted")
Sugarcane Settling ( Rooted, Shooting Sett), Cultivar 2")


")

Title image above is copyright © Kristi Ellinopoullos
First published 11th June 2025
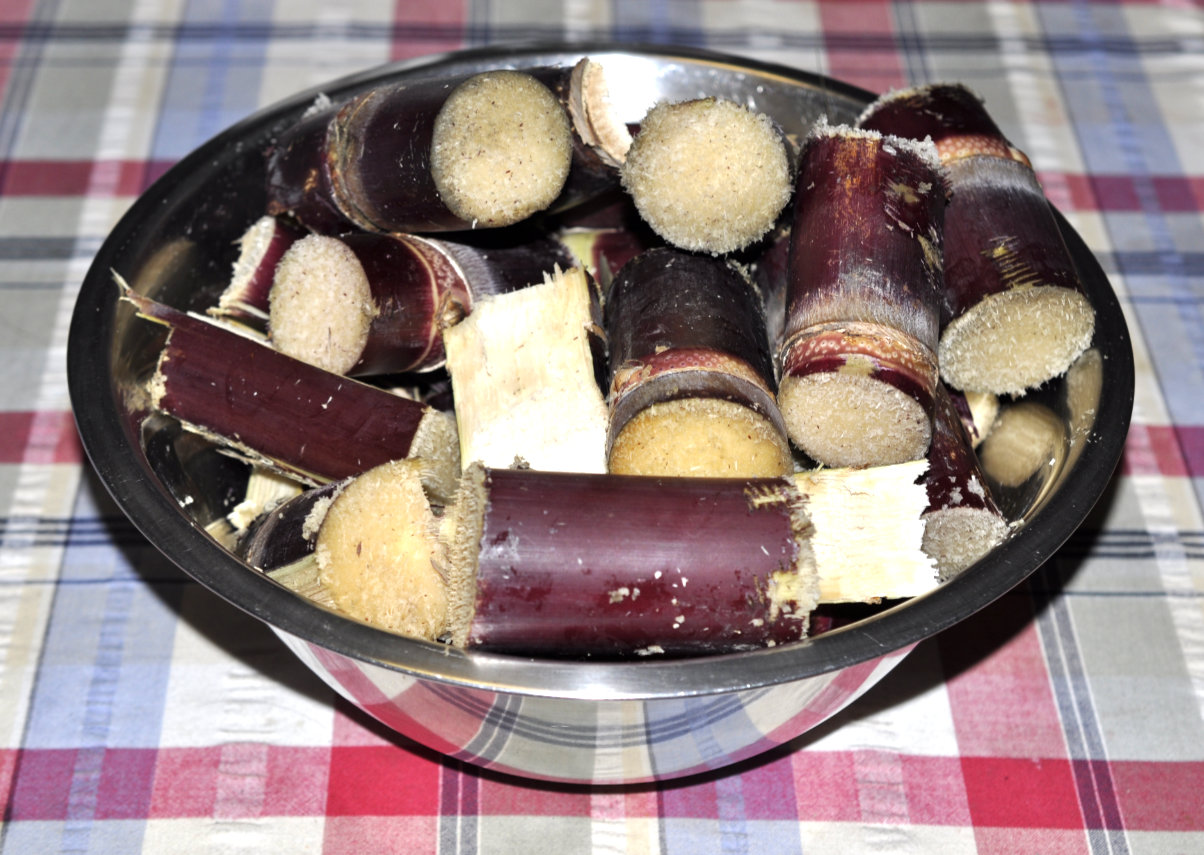
Some strong winds recently snapped at the base a bunch of canes growing at an angle out of a tall concrete pot. Decision made: it’s processing time!
Sugarcane is typically processed anywhere between twelve and eighteen months old, which conveniently was about the age of these.
Step 1:
I don’t have a dedicated cane crushing machine, so I proceeded to cut the canes into chunks anywhere from 50-100 mm long. I used a saw but another method is to hold the cane between your legs and lop away with branch loppers.
This amount eventually fit into a very large stockpot:
copyright © Kristi Ellinopoullos
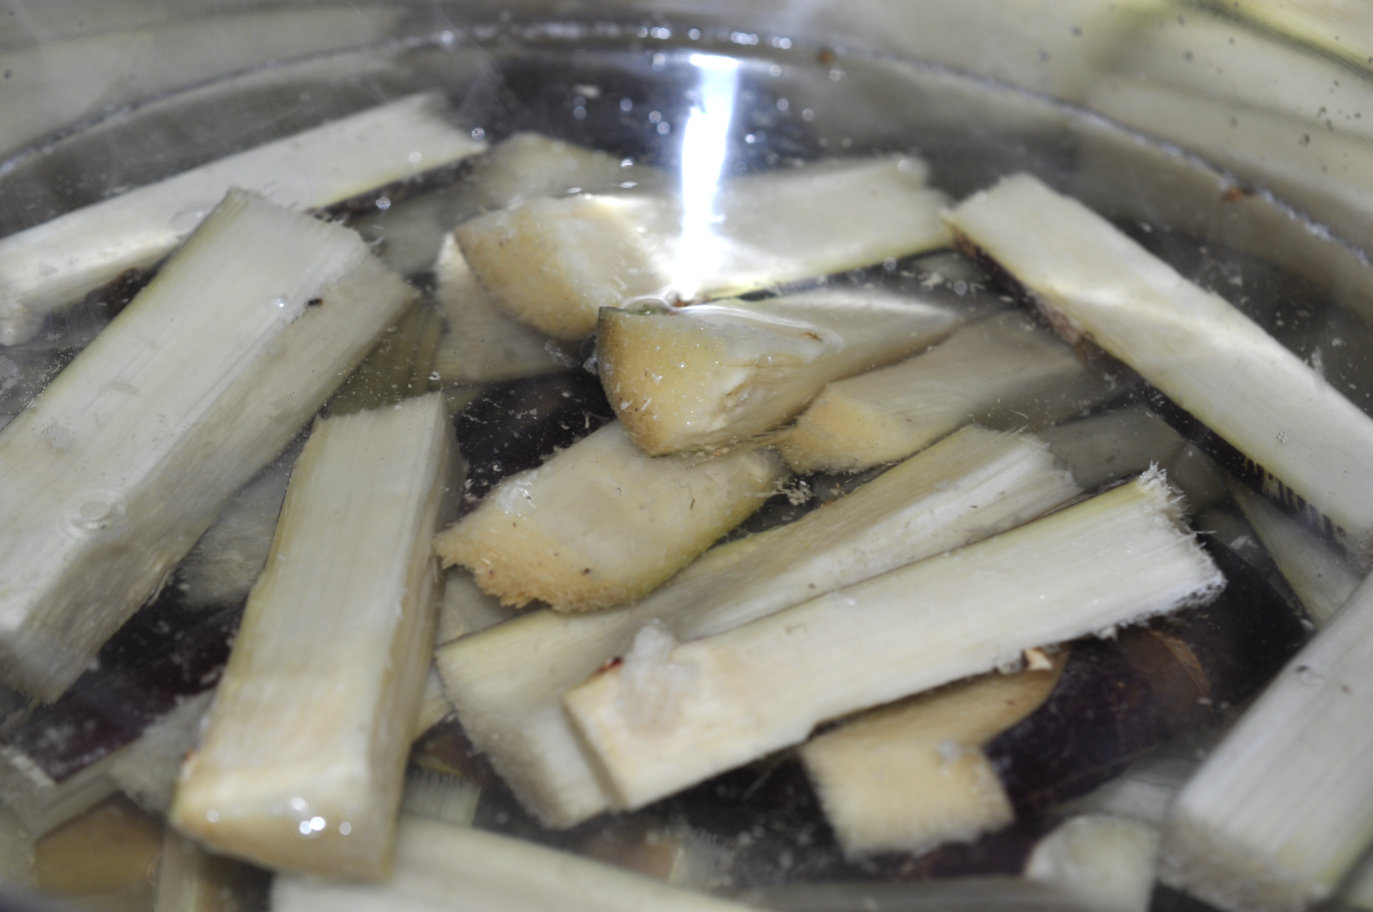
Step 2:
But before doing that, those chunks needed to be cut again so as to increase the exposed surface area. With a cylindrical piece sitting upright and with one of the flat ends on the chopping board, I just wedged a cleaver into the top surface and then lifted cleaver-with-piece joined together up and down repeatedly so as to drive the cleaver deeper into the piece. A bit like splitting small diameter branches with an axe. This was much easier than the sawing. The saw had been cutting against the lay of the strong fibres, but the cleaver was simply splitting the cylinder along the length of those fibres.
Each half was then split lengthwise again, and the quartered pieces were added to the stockpot.
Step 3:
Water was added to just cover the pieces, brought to the boil, and left to boil for about an hour.
copyright © Kristi Ellinopoullos
Step 4:
The pieces were removed with a slotted spoon, and the liquid strained into another pot, using a cheesecloth-lined seive to catch the small fibrous bits called bagasse.
I had about 5 L of liquid.
Step 5:
The liquid was reduced to a syrup. You do have to keep your eye on it to ensure it doesn’t boil over. And to stir it to ensure it doesn’t stick and burn.
One way to test the consistency of the syrup is to place a spoonful on a cold plate. If it is your desired consistency then it is ready, in which case remove the pot from the heat and allow the syrup to cool.
During this I also prepared a sterilised jar by boiling it and the lid for ten minutes before allowing to cool upended on paper towels.
Never put a hot liquid into a cold jar, or a cool liquid into a hot jar, as the jar may shatter and spray hot shards and/or liquid about.
This syrup is best stored in a cool, dark place but not in the fridge, where it will likely crystallise.
Step 6:
The result! Five litres reduced to this amount of very viscous syrup:
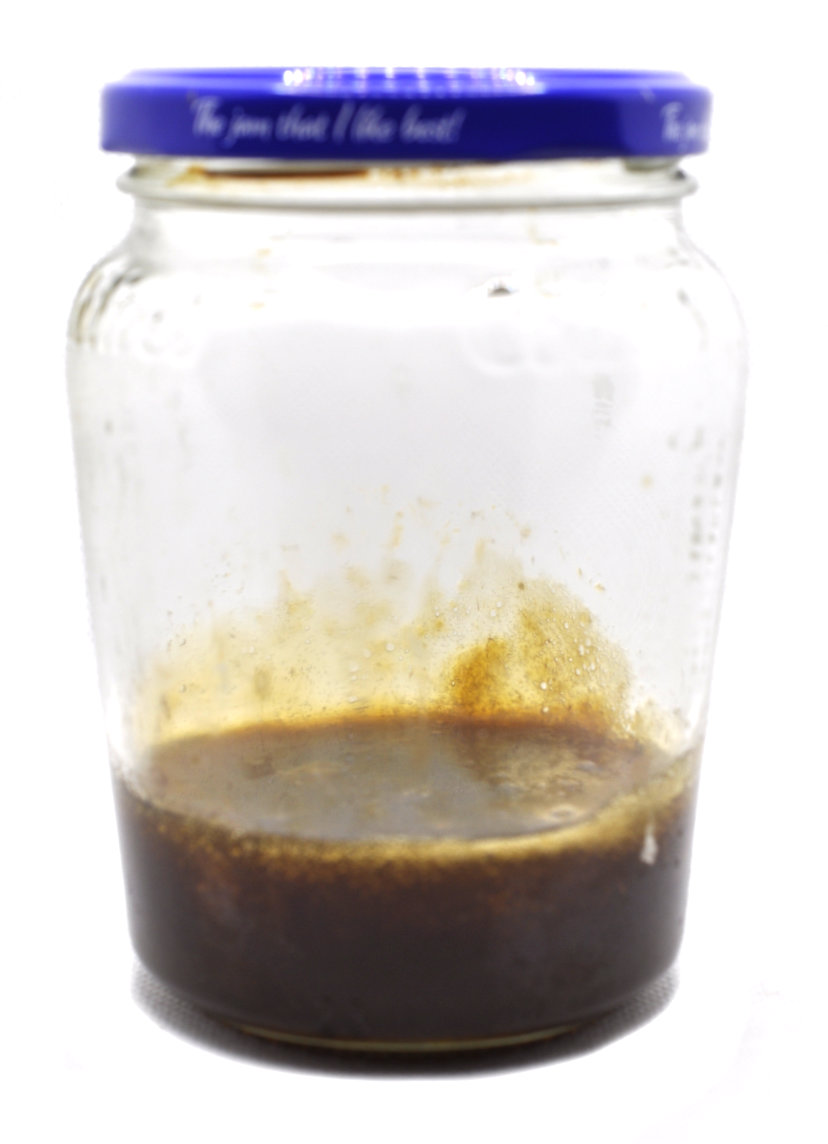
copyright © Kristi Ellinopoullos
Have you ever made cheese? This is a familiar story, in that you start with a lot of milk for the amount of cheese you get at the end.
But what is this syrup exactly?! It isn’t pure sugar, but more akin to jaggery, a concentrated cane juice from which the molasses has not been removed. Except mine is syrupy and not a solid block. It has a distinct smell and taste that is nothing like pure, refined white sugar. I like it!
And being unrefined, plus its colour, also means that it likely has the minerals found in cane juice, such as iron, calcium, magnesium and potassium. Any nutritional goodness is overwhelmed by all that sucrose, but still, it’s good to know!
Step 7:
The consumption thereof! On what I’m not exactly sure, but pancakes or waffles are high on the list, especially in this weather!

Related Products
, Cultivar 1 as Propagation Material")
 Sett (Stem Cutting), Cultivar 1")
 Sett (Stem Cutting), Cultivar 2")
, Cultivar 2 as Propagation Material")
Sugarcane Settling ( Rooted, Shooting Sett), Cultivar 1 in 90 mm Bottomless Pot")
Sugarcane Settling ( Rooted, Shooting Sett), Cultivar 2 in 90 mm Bottomless Pot")
 Setts (Stem Cuttings): Cultivars 1 and 2")
Leave a Comment